


This article has been strictly written for beginners in mind.
Who is a Frontend Developer?
I want you to think of an artist with his tools, like his pencils, brushes, color palette, and most importantly, a canvas. Behind the scenes, the artist has to mix different colors to paint an image on a canvas, or he could decide to use a pencil to draw an image. Few hours later, when you come back to meet with the artist, you're most likely to behold a very beautiful painting without really understanding how he arrived at that result, true?
For the rest of this article, I am likely to refer back to this analogy.
From my analogy above, a frontend developer writes code, which we'll call his color palette, into a code editor, which we'll call his canvas, to create a responsive website that must be able to behave well on any device. The final result of his code—color mix, should appear like an interactive design on a website. To illustrate further, have you ever clicked on a link that led you directly to a website?
For example, when you click on Netflix, it opens a new windows tabs, and you are right on an interactive website, because when you click on "Get Started" it leads you somewhere, right? What you just experienced is what a frontend developer does with his code, creating an interactive website.
For clarity's sake, an interactive website means a user can click on, "home", "about us", "sign up" and the website provides the user with the requested information or a new page.
Choosing a Code Editor
A frontend developer cannot create a responsive website without his canvas, which is his coding environment. He has to write his code into an application, not on Microsoft word. A coding environment is called an IDE, which is short for Integrated Development Environment. There are a handful of IDEs to choose from, and I don't want to bore you with the list. For this article, we'll stick with Visual Studio Code editor, which is compatible on both Androids and windows, and a great recommendation for you.
To install VS Code, visit download code editor for laptop users. Or download code editor for Android users.
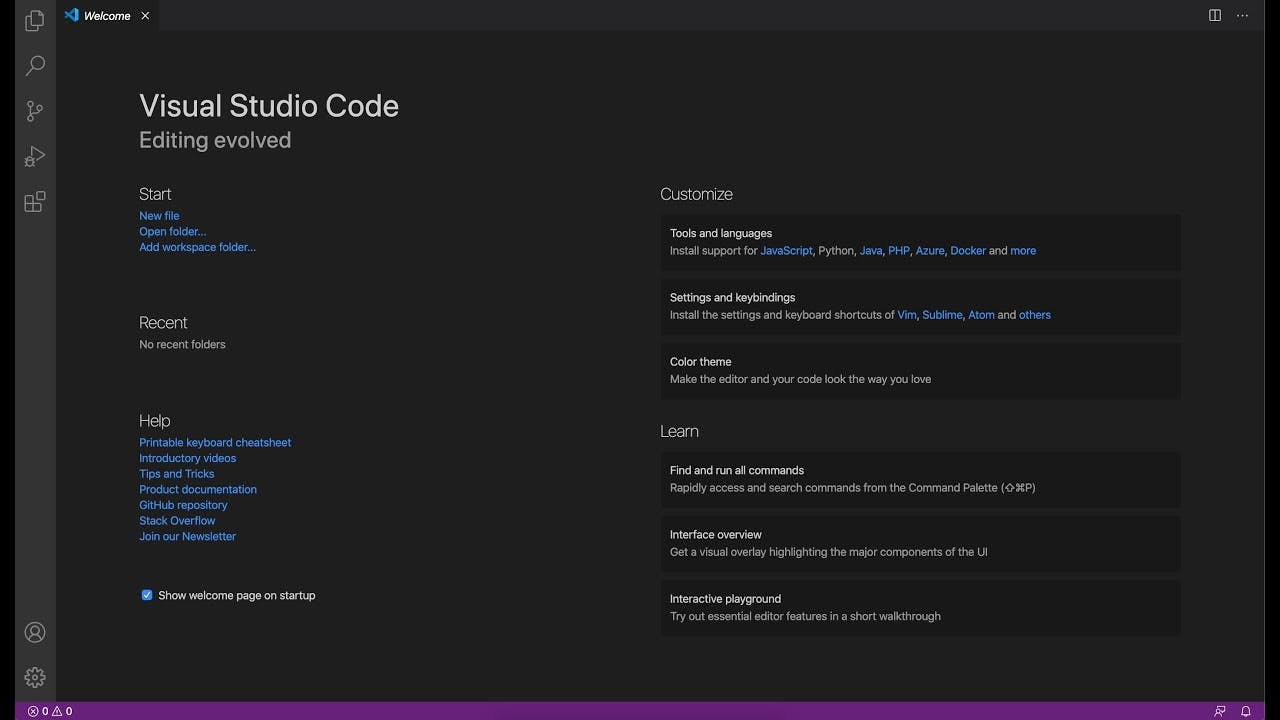
You should see something like this after installation:
Important Extension to Install in your IDE
After installing your VS Code, I want to believe you already know the html boilerplate, which is your heading tag, and the prerequisite tags needed to write your first 'Hello, World!'.
This is what I mean by the HTML5 boilerplate:
<!DOCTYPE html>
So, what happens if you want to see the output of your code, your first 'Hello, World!'?
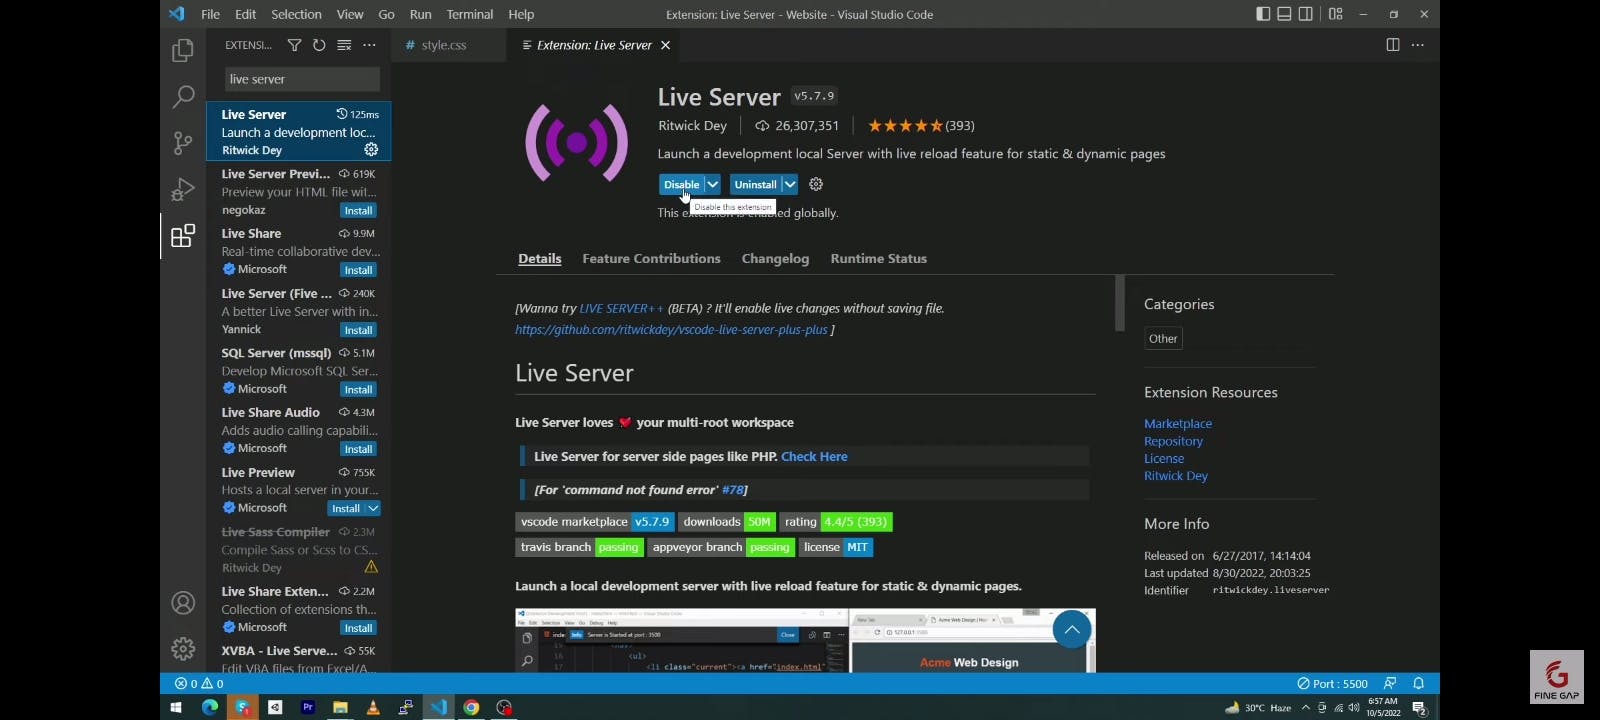
To do that, you have to download the Live Server Extension into your VS Code following these steps:
- Click on this icon on your VS Code Editor, it's called the Extension Marketplace.

- Type "Live Server" into the search bar, and click download.
That settles it.
Another great thing you'll enjoy in your VS Code is the Emmet Abbreviation. The Emmet abbreviation is a built-in feature that prevents you from writing any kind of tag all by yourself. It's more like an autocomplete tag initiator in your VS Code.
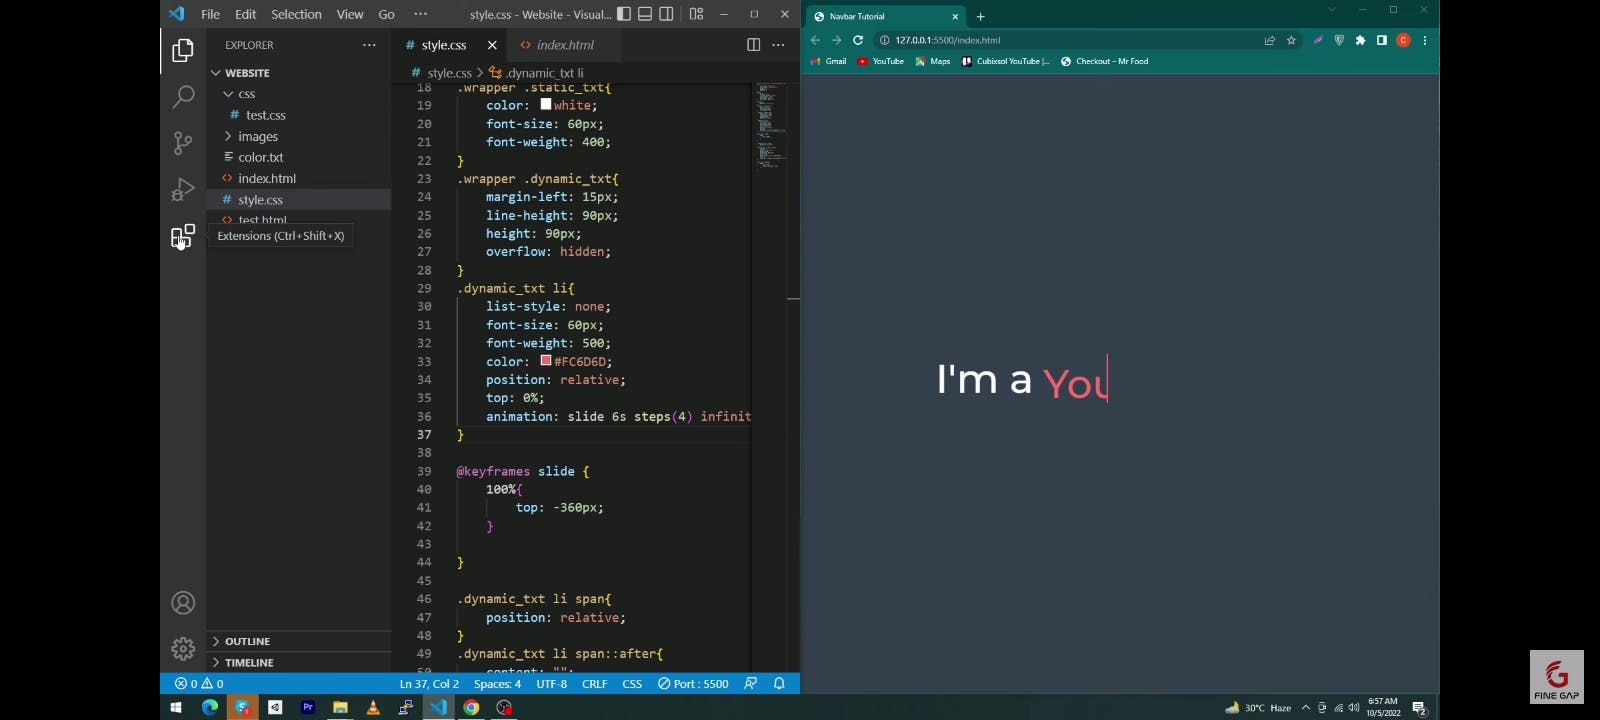
This is what the Emmet abbreviation looks like:
With these two awesome tools, you're going to do just great.
Understanding Opening and Closing Tags, and Self-Closing Tags
To give you a comprehensive understanding of what self-closing tags are, I will direct you to a documentation that contains all the possible HTML tags you should know.
But before that, let me explain what they are.
Self-closing tags are tags that do not require you to end them like this: "<tagname\></tagname\>".
For context sake: <tagname> is an opening tag, while </tagname\> is a closing tag; instead, self-closing tags appear like this: "<tagname/>"
An example of a self-closing tag is the <input />, <img />, <hr />, <br />, and so on.
On the other hand, examples of opening and closing tags are your heading tags from <h1\></h1\> to <h6\></h6\> and many more examples that have been documented in the Web3schools doc.
To get a broader view of all the known HTML tags and their functions, check out this documentation on Web3schools.
Linking Across Multiple Page
As you advance in learning, you will eventually have to link a styling sheet or a scripting language into your index.html.
To effectively do this, I'll share with you some key HTML elements for linking to a website, a stylesheet, a scripting tag, or to embed an image.
- The <link> element appears like this:
<link href="" rel="">
We use the <link\> element to link to any CSS file. In between the quotation marks for href attribute we put in the name of our stylesheet, and in the rel attribute, we have "stylesheet" written there. Note that rel is short for relationship.
After linking, it should be like this:
<link rel="styles.css" rel="stylesheet">
I also want you to know that the <link> element must be placed at a specific location in your HTML boilerplate. You don't put it just anywhere. It should always be like this:
<!DOCTYPE html>
- The <a> tag:
The <a\> tag means anchor tag, we use this tag to link to an external website.
It should appear like this after linking:
<a href="http://www.google.com"> Google </a>
If you've noticed, the "href" attribute is always present, this is because the href attribute holds the url or file you want to link to, without it, there's no link.
The anchor tag can appear anywhere in the body tag of your HTML file. There's no strict rule for it.
- The <img /> element:
This is for embedding images. There are a lot of ways to embed an image in your html file depending on the location of your image. You may want to get this image from Google, Unsplash, or you may already have it saved on your device, whichever.
But for the purpose of this article, we'll only focus on embedding an image from an external site, eg: Google.
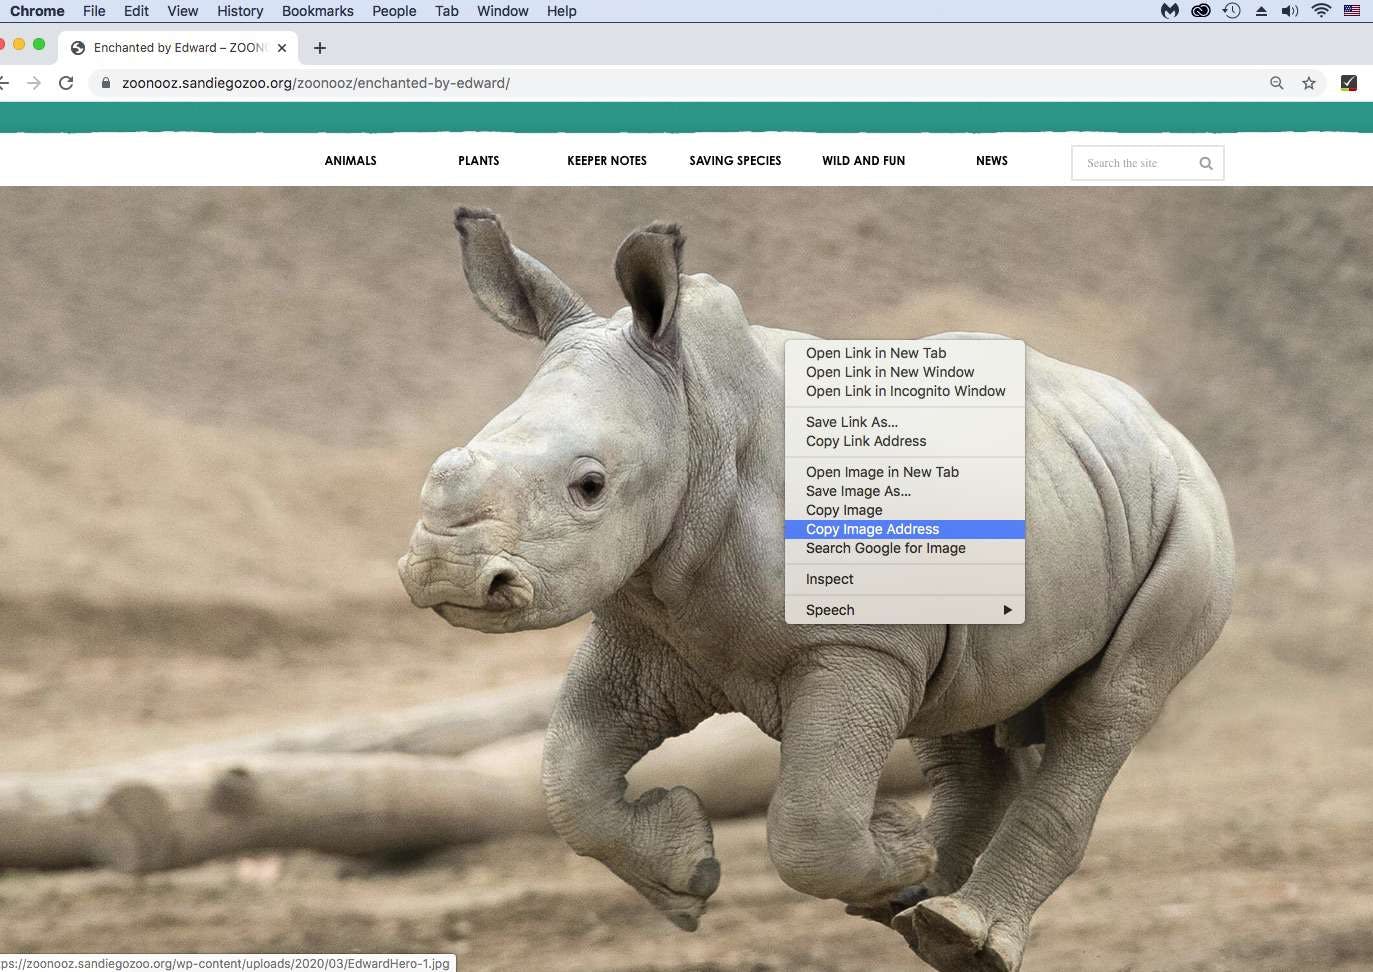
When you find your image on Google or anywhere, copy the image address. This is what I mean:
Paste the image address into your src attribute, like this:
<img src="loremipusmodolete.ww.w=90h" alt="an animal">.
Go to your live server and you'll find your image sitting pretty.
Like the href attribute, the src attribute in <img /> element holds the image address or location for your image.
The image element can appear anywhere in the body tag of your HTML file.
- The <script src=""></script> tag:
The <script\> tag is for linking to your JavaScript. The src attribute holds the name of your JS file. Something like this:
<script src="index.js></script>
The placement of the script tag is dependent on the purpose of your scripting language.
Conclusion
Thank you for reading till the end. If this helped you in any way, let me know in the comment section, and share with your code buddy. ♥️